Hey friends! Whenever I have an ordering party with my clients, there are always questions about things like “What exactly is wall art?”, “How do I know which ones to pick?”, “Where should it go?”, etc. So I’m going to put together some tips and tricks for choosing bomb wall art to answer some of those questions!
Wall art is really anything that you hang up on the wall, but for our purposes here, it will refer to images from your session that you get printed to put up on your walls. So let’s walk through the process!
First, what is an ordering party? An ordering party is when you and I get together again when the photos from your session or wedding are finished and ready to view. This will be your first time getting to see most of them, which is really exciting! Then we go through things like which ones are your favorites, what you want to hang on the walls, prints for Grandma, etc. (Don’t worry if you tend to be indecisive; I help you with all the decisions so you don’t have to flounder through it on your own!). Once you feel like you have everything you want, you place your order, we wrap up, and that’s it!
So, here are some things to think about before your ordering party.
Where in your home do you want to hang your photographs? A few good options are over the couch, over a fireplace, between a couple of main windows in your living room, over a desk (or the wall opposite your desk, so you can stare at them while you’re working!), above your bed…the list goes on, but that’s a good place to start. Any place on your walls that is a somewhat decent size, and isn’t cluttered. I have two gallery walls (a group of photos/artwork, rather than just one) in my living room, a couple of single images in each bedroom, and a smaller gallery wall in my hallway/laundry room. Have an idea of places you would like to hang your images. 🙂
The best options for wall art are mounted prints (prints that have been professionally adhered to a mat board, foam core, or other quality mounting substrate, for added durability) or canvas gallery wraps (photo printed onto canvas and stretched around a frame). The mounted prints generally require a frame, and the canvases do not. So if you prefer frames, you will probably want to stick with prints, but if you love the look and functionality of not needing a frame, then canvases are for you! You can mix and match, however, but we’ll talk about that later.
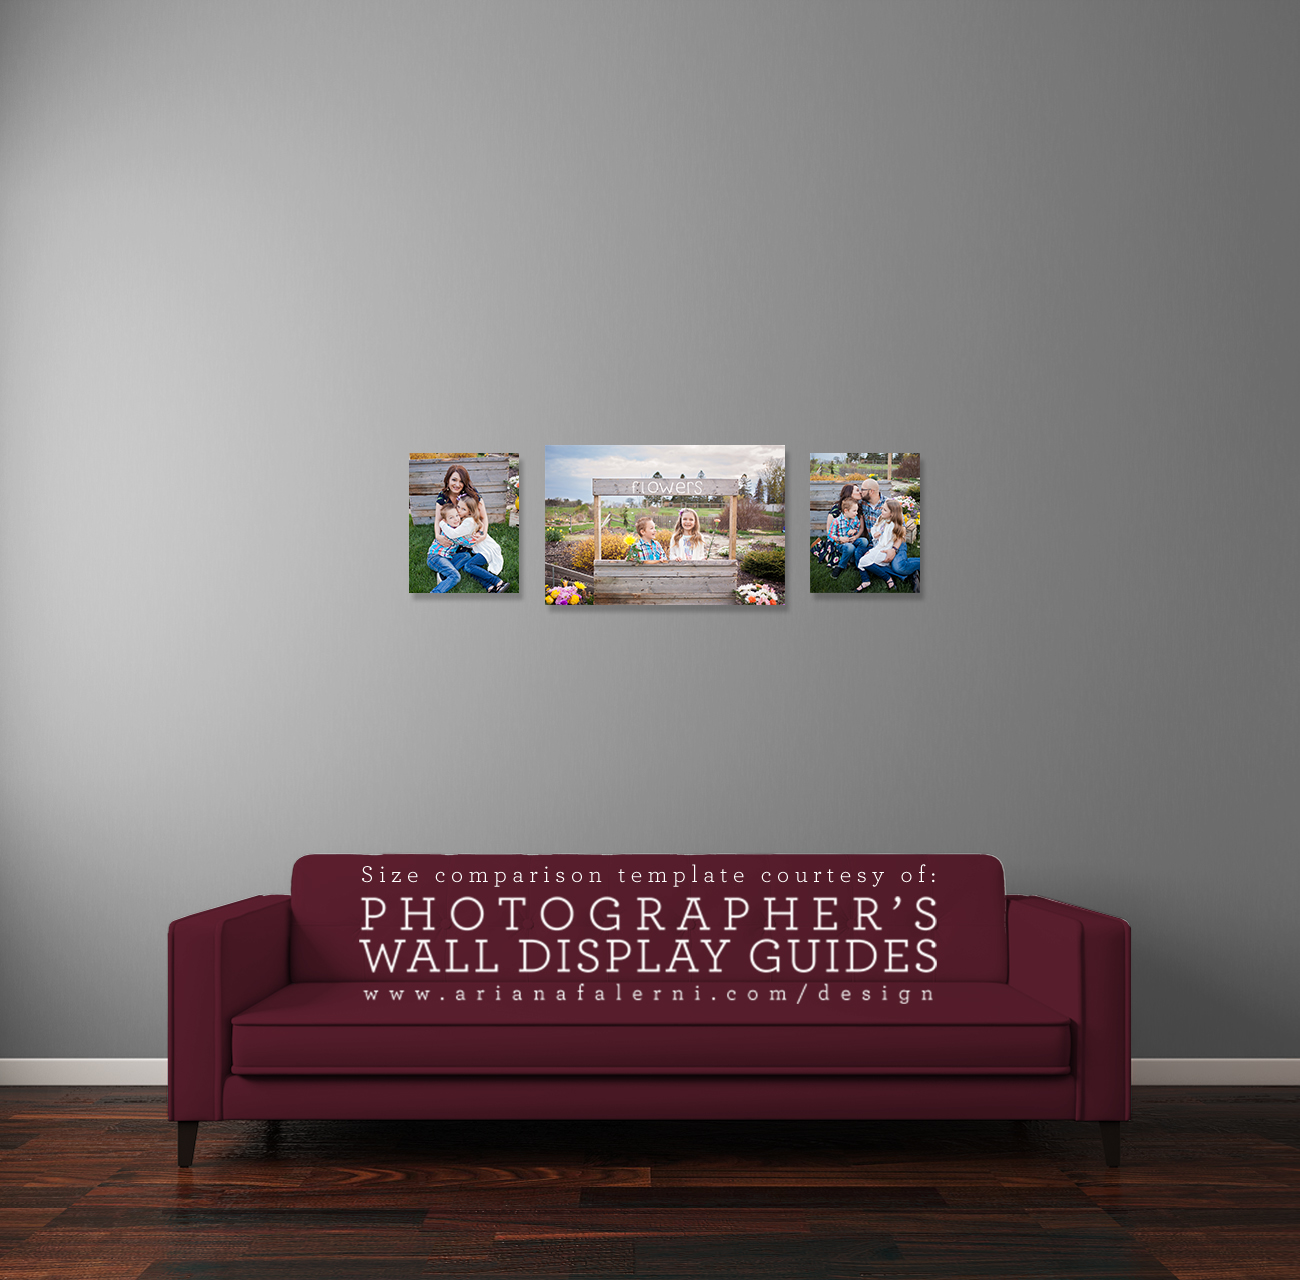
The most common size of photo in pretty much any house tends to be an 8×10. That’s what school picture day photos come as, that’s the most popular size of “larger” frame at Walmart or wherever else, so naturally it is what people tend to assume that they want. But I am going to challenge that assumption. The thing about walls, especially larger walls, is they tend to take whatever you put on them and make them look rather smaller than they did when you were holding them. Take a look at this size comparison.
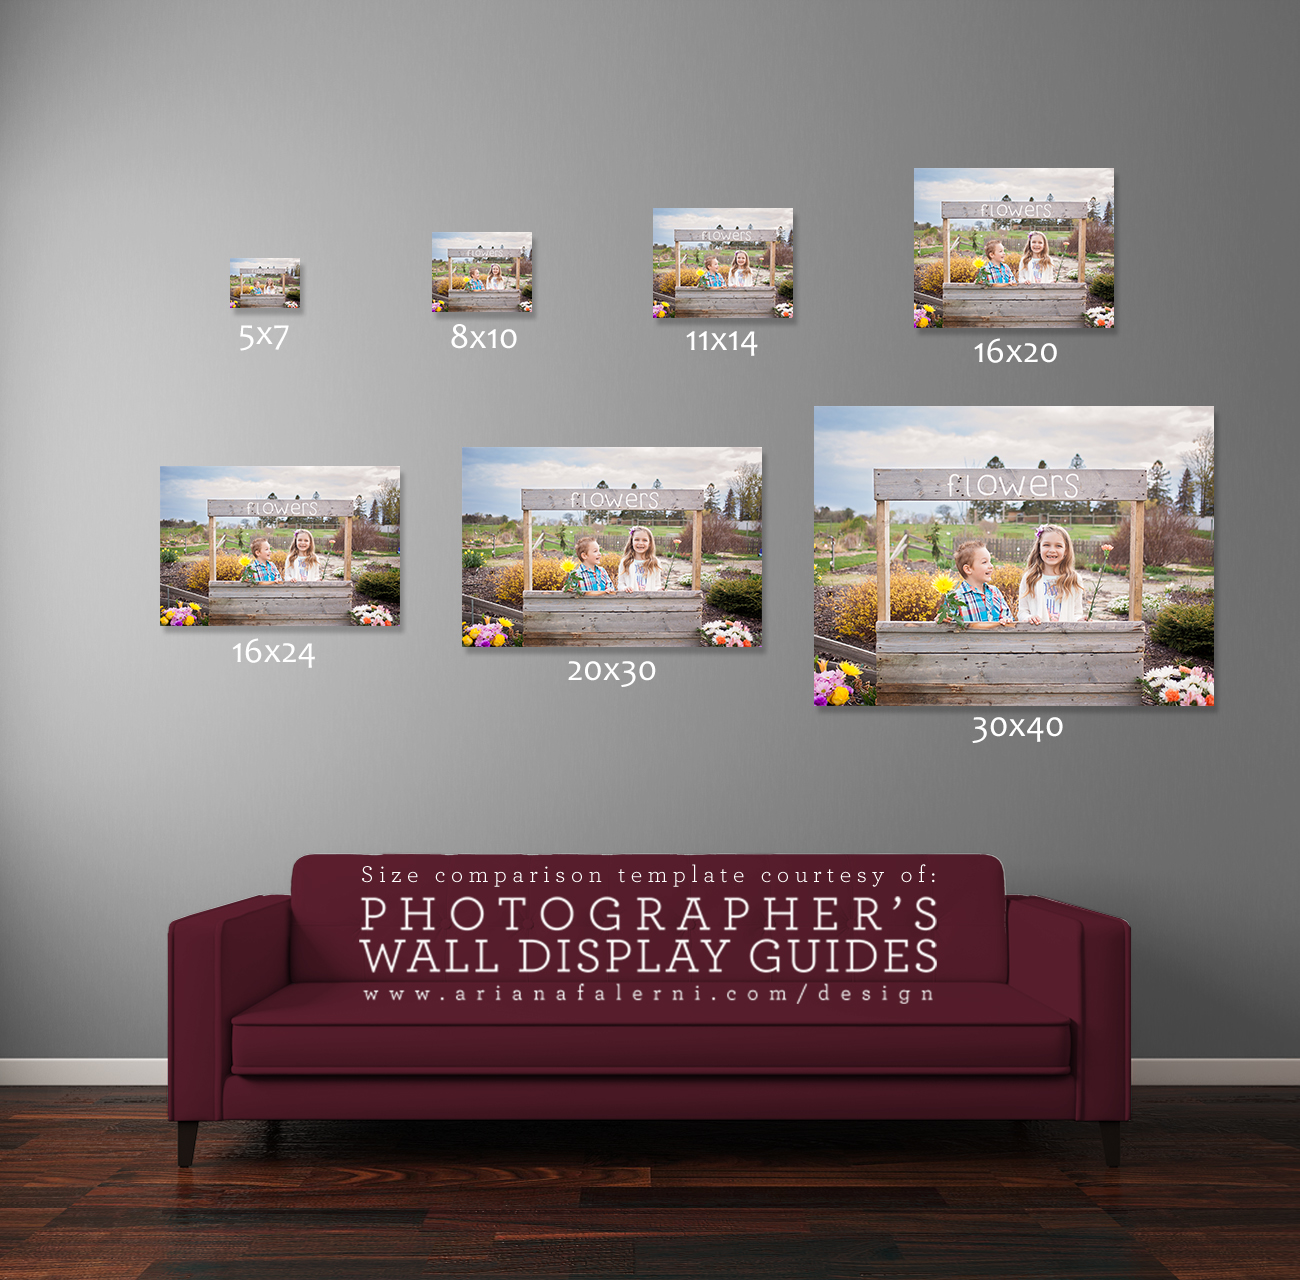
Now imagine an 8×10, or even an 11×14, on that wall by itself.
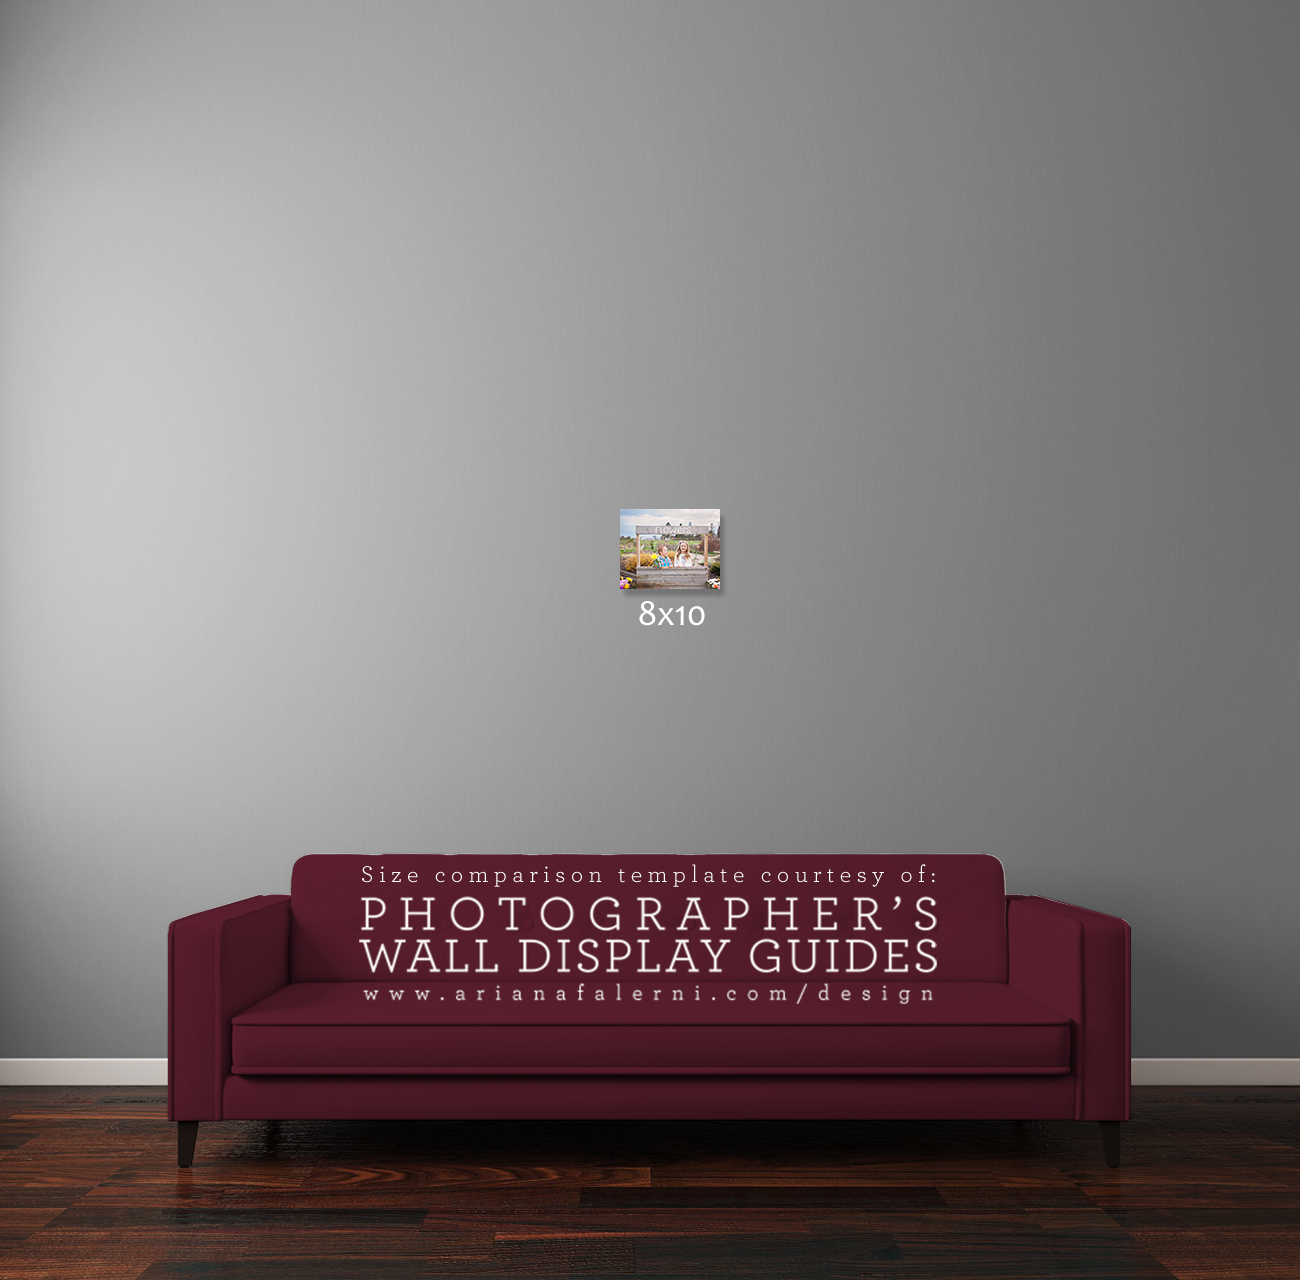
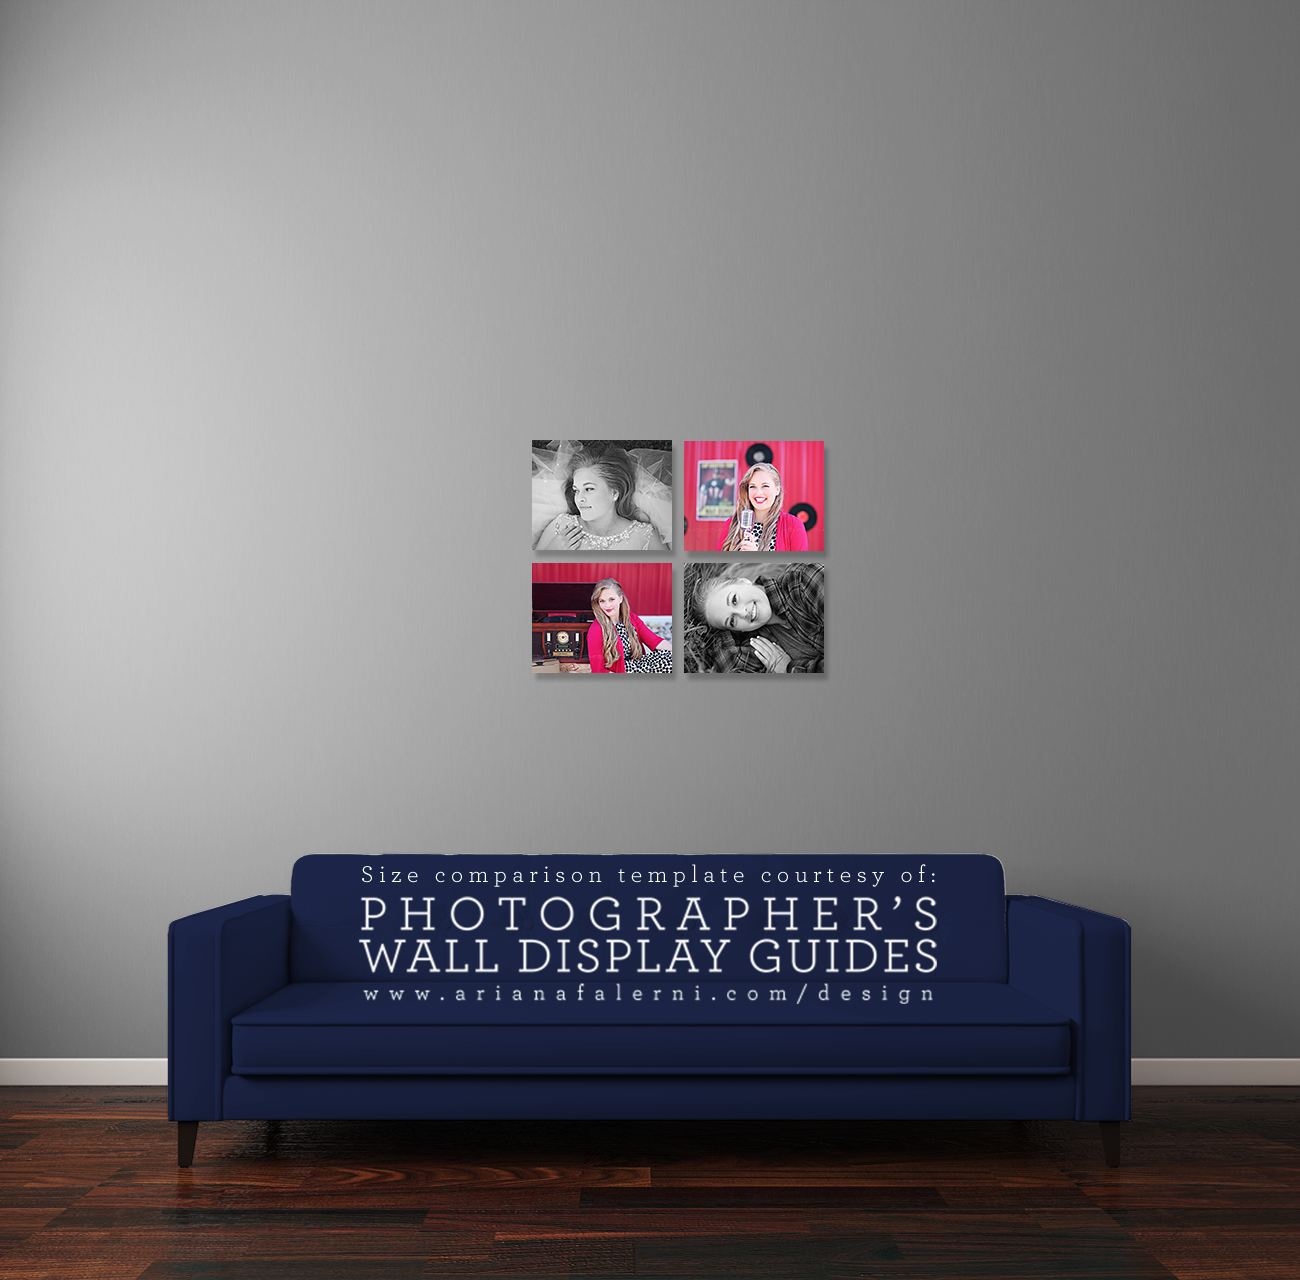
It just about disappears. Smaller sizes like 11x14s, 8x10s, and even 5x7s can be wonderful as part of a gallery wall, but they just don’t make a statement by themselves. Especially for things like family portraits and wedding portraits, you don’t want them to be swallowed up by your wall. I know you love that paint color, but still. I reckon you love the people in the photo more. 🙂 Let’s try this:
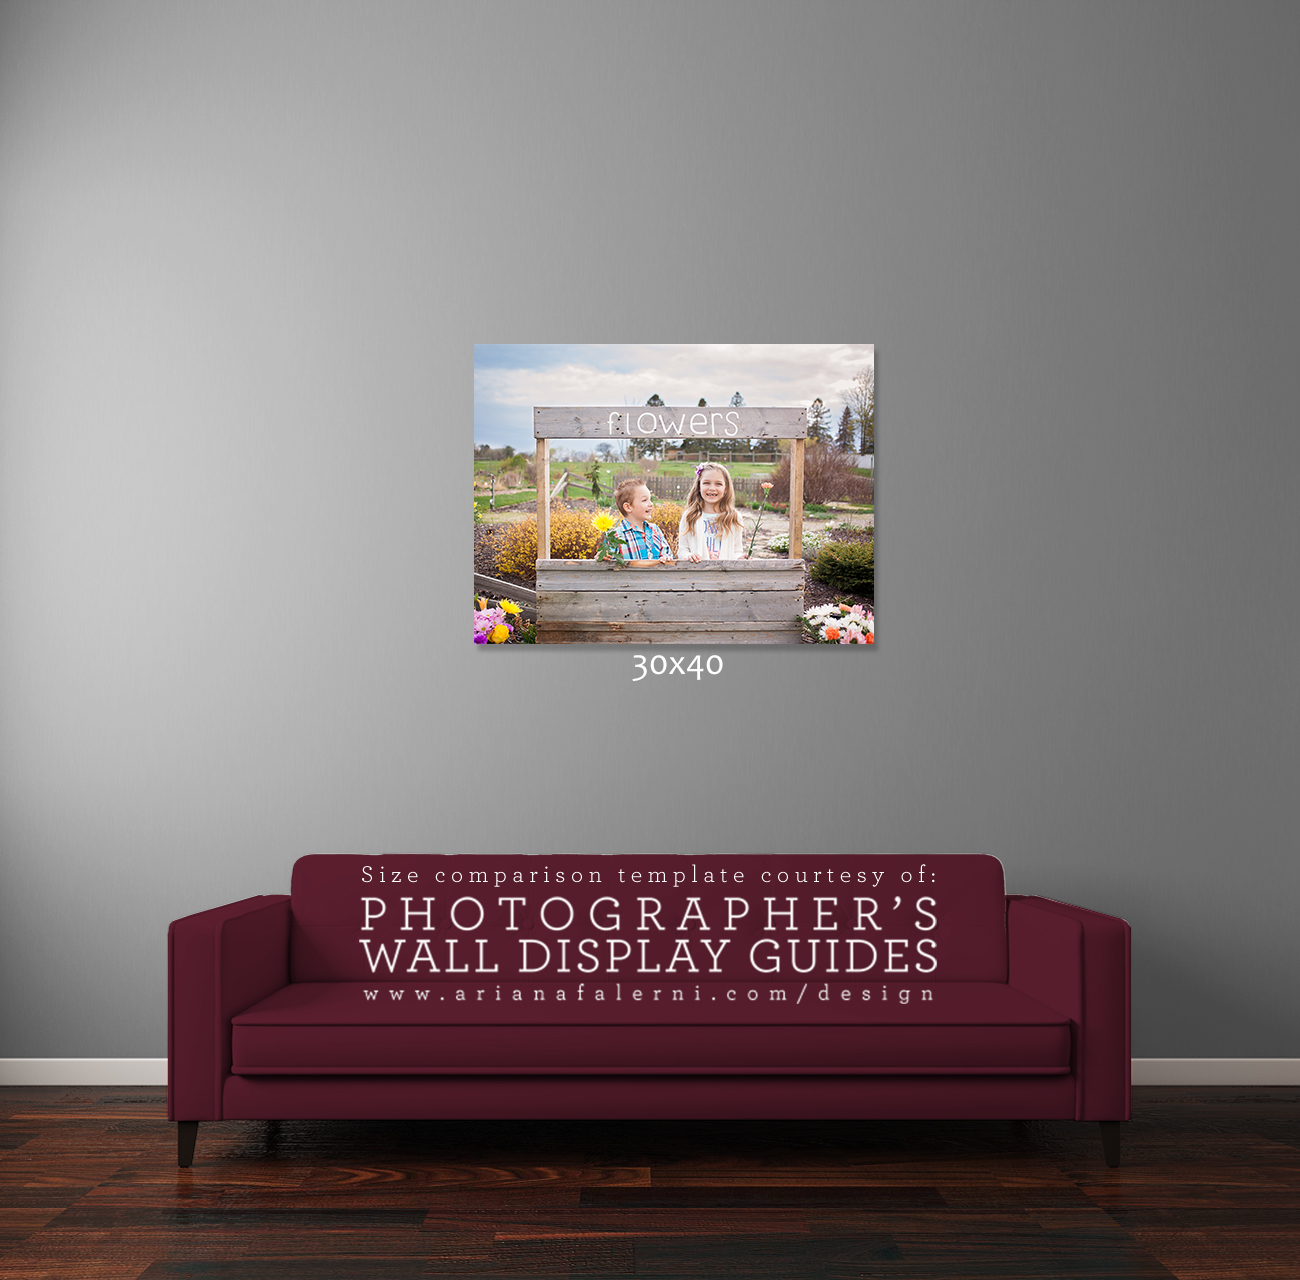
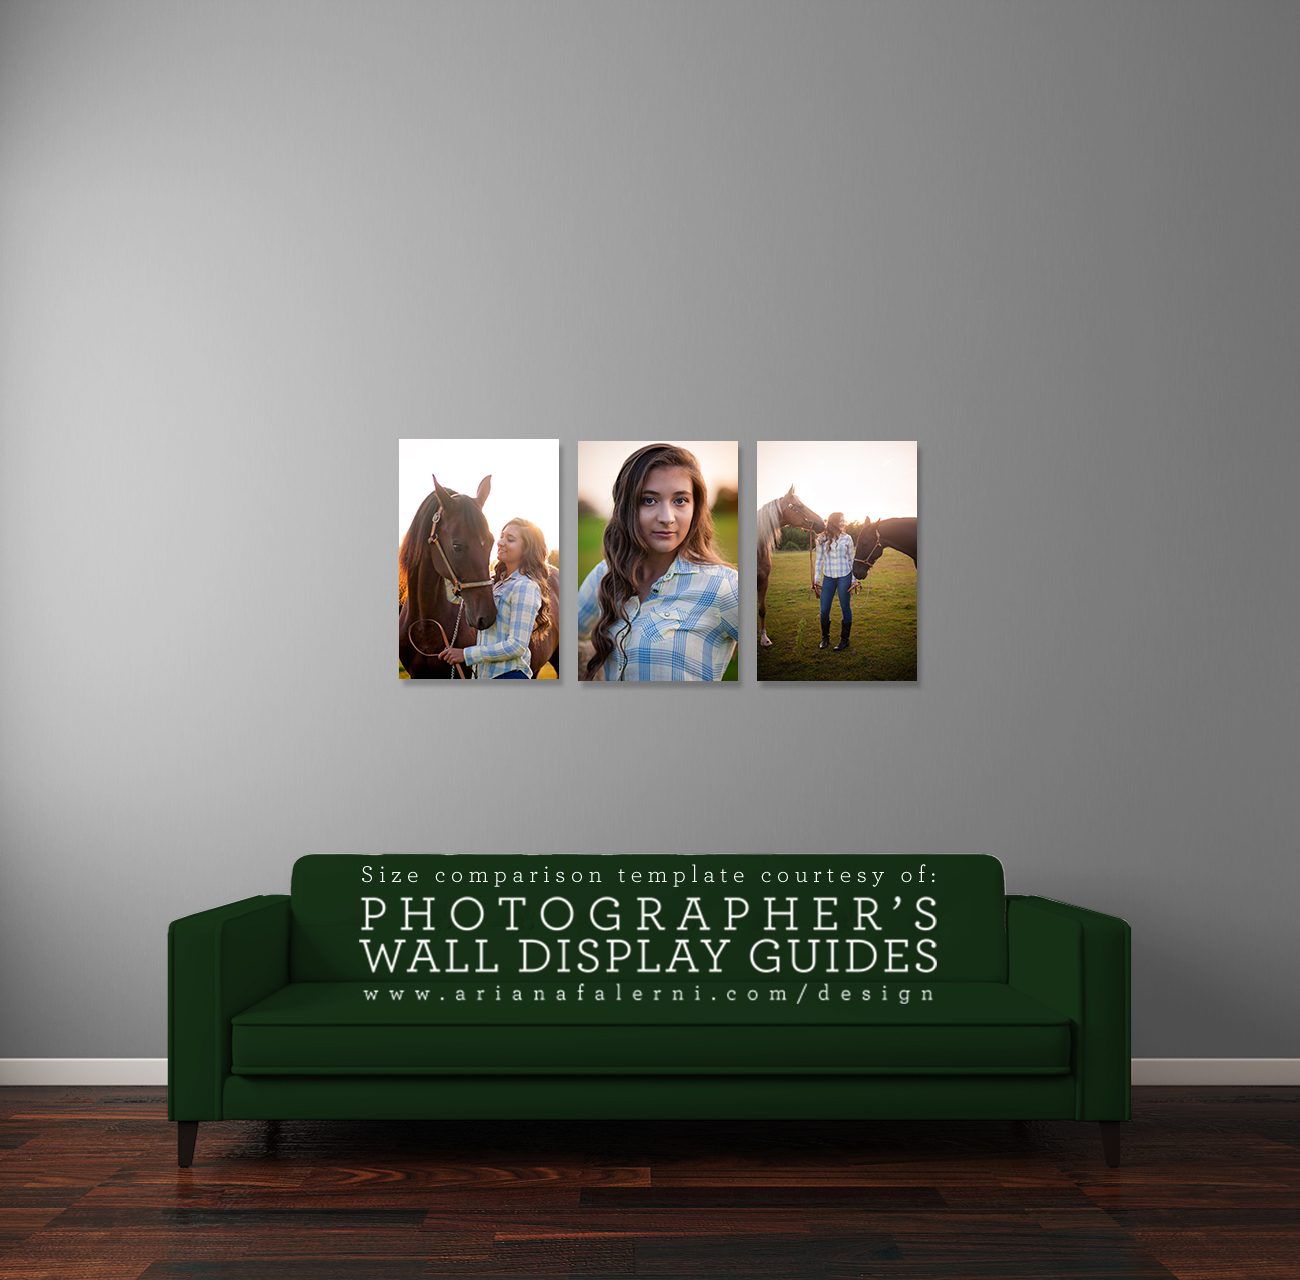
Ahh, that’s better! See how much more of a statement that makes? Other things to think about when deciding on size, and where you’re putting it, and which image (it all works together!) is how big the room is (AKA, how far away you will typically be from the image once it’s hung), and how “zoomed in” the image is (AKA, how big are the heads in the photo?).
Room size: in a larger room, like a large living room, or anywhere with higher ceilings, you are often going to be farther away from the photo when you’re looking at it, which will make it seem even smaller. In smaller spaces, like small bedrooms or hallways, you don’t need to go as big, because you will never be as far away from the photo.
Head size: a closer-up photo, where you can more easily see a person’s facial expression, doesn’t need to be as large to make a statement. But the more heads you add, and the farther out you zoom, the less of an impact the photo makes, and the harder it is to see all those beautiful faces.
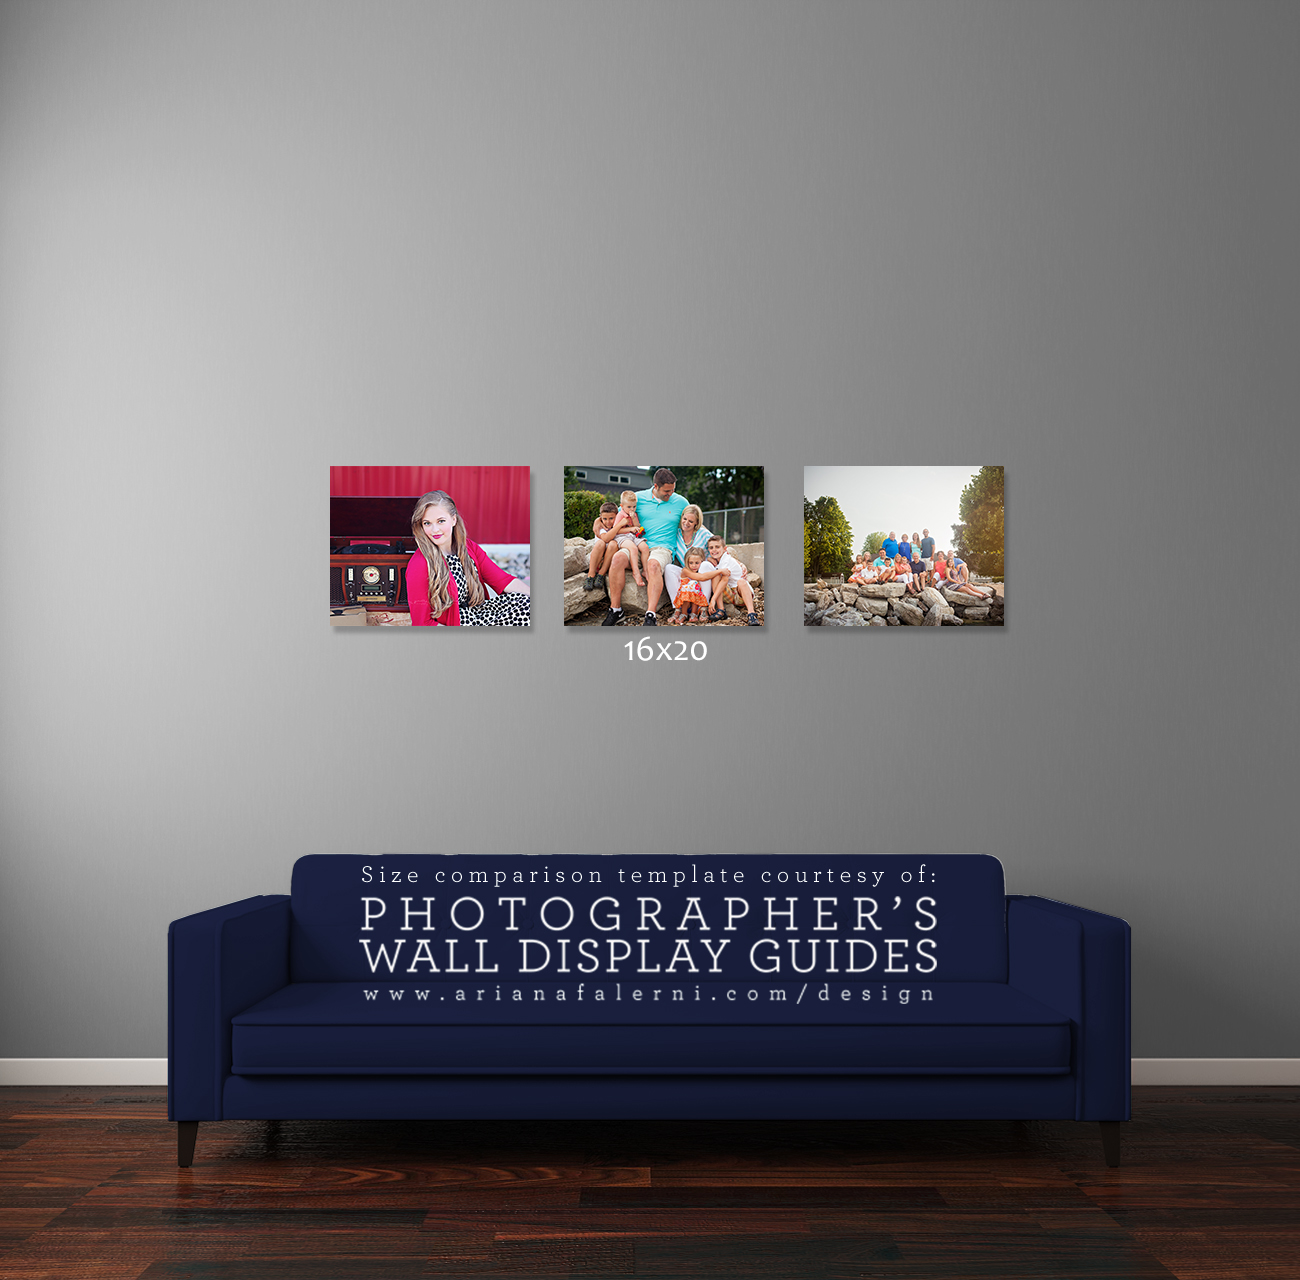
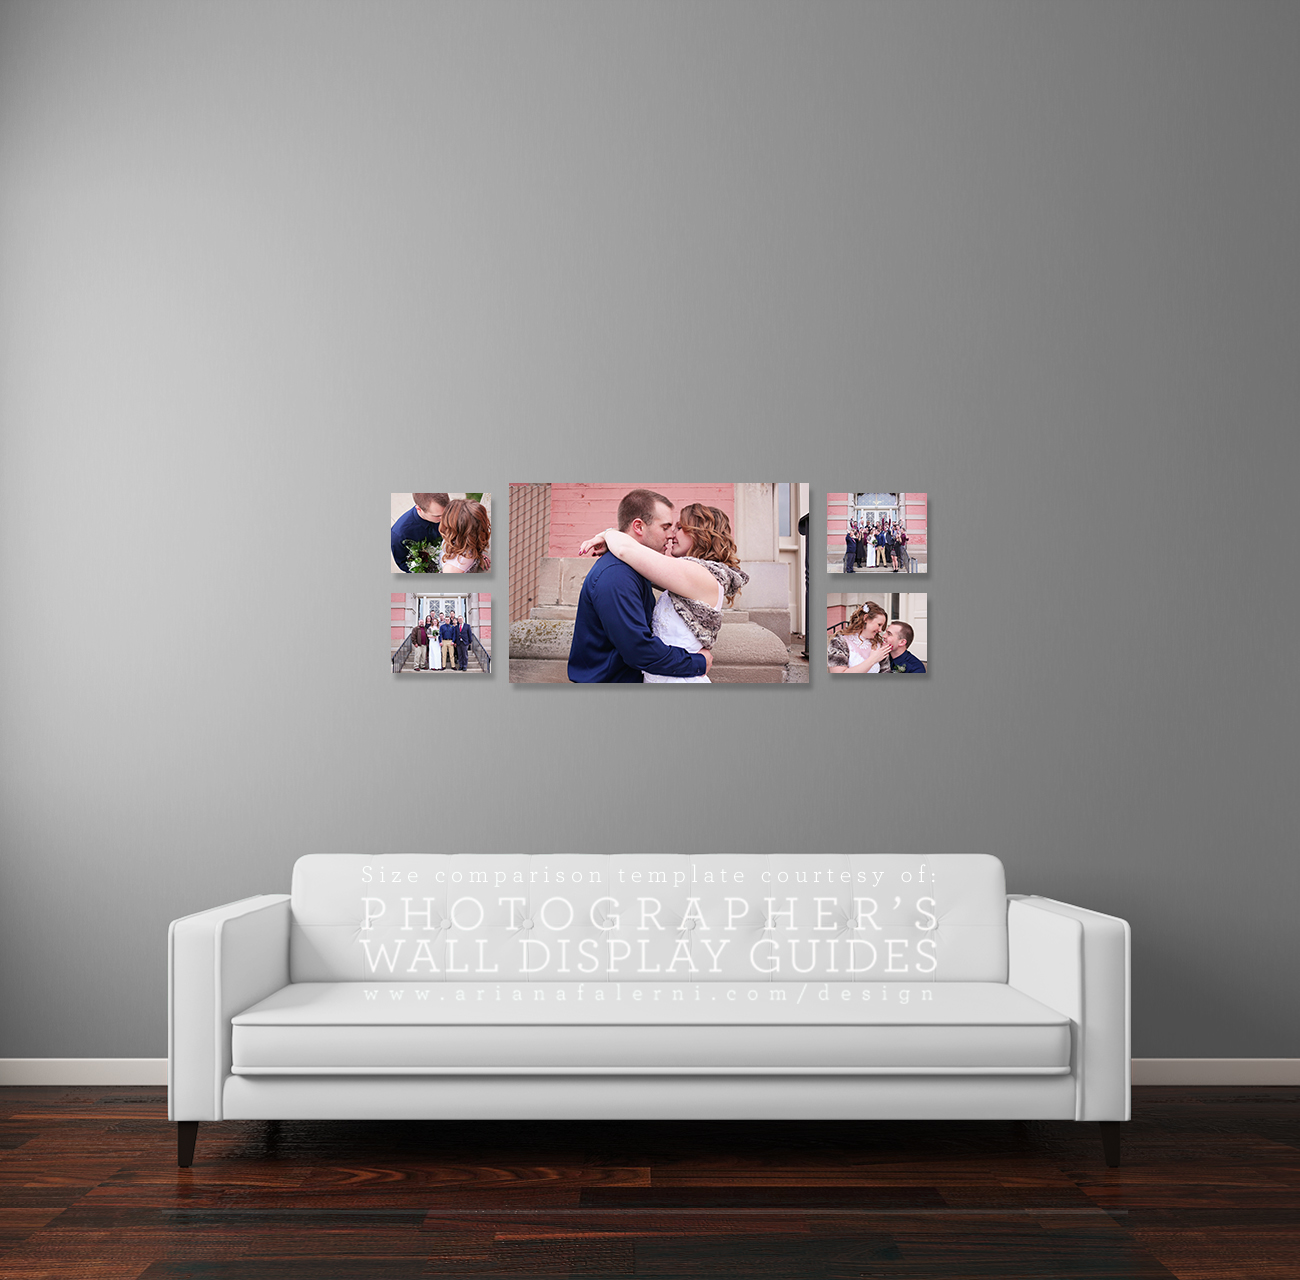
See what I mean? The 16×20 is just fine for Grace, where there’s only one head, and it’s fairly close. But as we get larger family images, we start to completely lose the people in the photo. You can’t even tell if the Crissingers, in the last photo, are smiling or not (they are, just fyi!).
Here is a photo of my own wall:
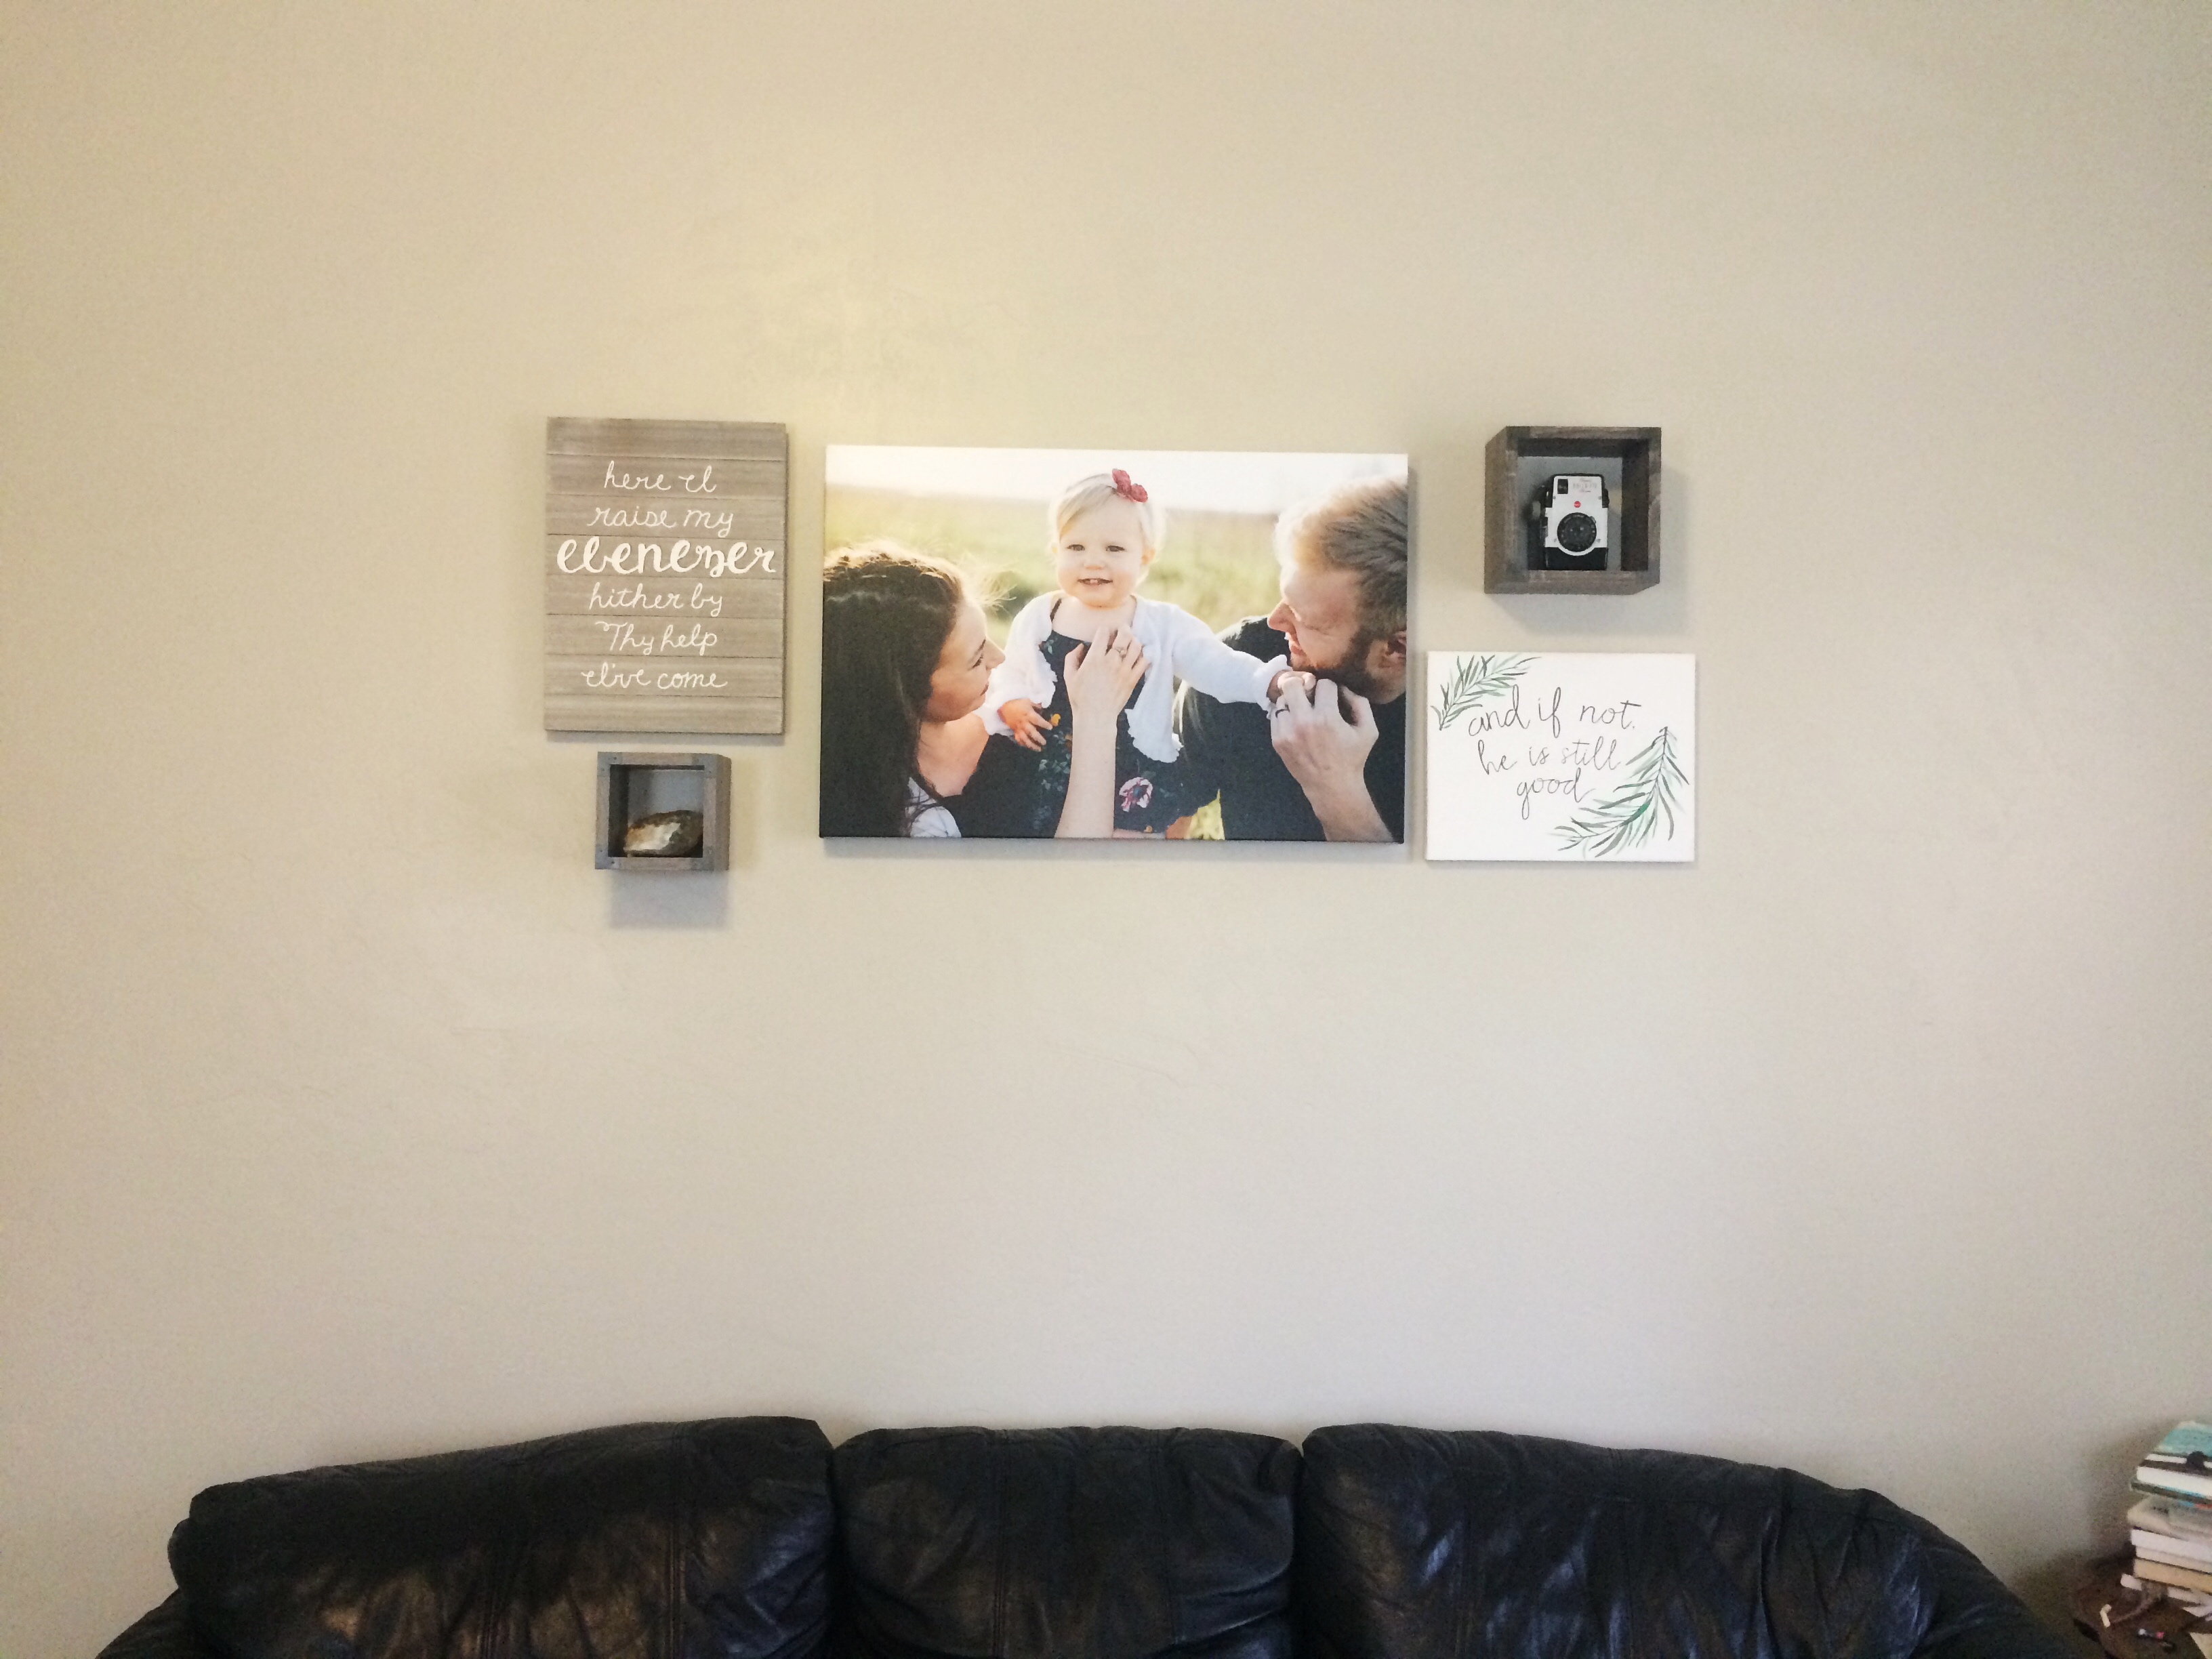
It’s a large empty wall, in a moderate sized room with high ceilings, so even though its a more “zoomed in” image, I knew I needed a bigger size. This is a 20×30, which ended up looking smaller than I wanted once I hung it up. Thus, I turned it into a mixed media gallery by adding the artwork and shelves around it. Now it’s perfect. ? (And I get to stare at Lucy’s face whenever the heck I want. ? By the way, our family photos were done by Megs Colleen at Grit Design. She’s super sweet!)
Which brings me to my next thought: gallery walls! Galleries are perfect for when you simply cannot choose just one favorite, or you really want to display multiple aspects of a personality/family/wedding day, rather than just one. There are lots of different options for what kind of gallery you can create (again, something that I can guide you through at the ordering party, based on where you want to hang them!). I’ll add a few examples here.
16×24 with two 11x14s
Four 11x14s
Three 16x24s
20×30 with four 8x10s
You can also visit my Pinterest board for this *here* to get more ideas.
There is also a thing called WallApp, where you can upload a photo of your actual room in your house, and play around with which photo and what size would look best on that wall. Unfortunately, it doesn’t give you exact photo sizes, but it’s still a fun tool.
Okay, let’s sum up!
1) Ordering parties are awesome, and they’re where you see all your finished images for the first time, and place your order.
2) Think about where in your house (or office, or wherever) you want to hang your photographs.
3) Think about whether you prefer framed prints or canvases.
4) Think about what size(s) will actually look best and achieve the effect you want (keeping room size and head size in mind).
5) Think about singles vs. galleries.
And there you are! You are well on your way to a wildly successful ordering party, and gorgeous wall decor that you and yours will be able to smile at for generations.
And don’t worry, I am here to answer any questions and will be there to guide you through everything when we get together. ☺️ Happy planning!
Love,
Kira